目标是将一个虚拟摄影机拍摄的图像保存成图像文件。
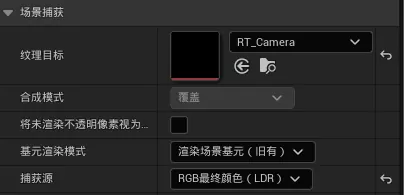
在场景中创建一个“场景捕获2D(SceneCapture2D)”,或者在任意Actor蓝图中增加组件“场景捕获组件2D(SceneCaptureComponent2D)”,并在其属性里的“纹理坐标”中创建/绑定一个“渲染目标(TextureRenderTarget2D)”,“捕获源”设置为“RGB最终颜色(LDR)”。

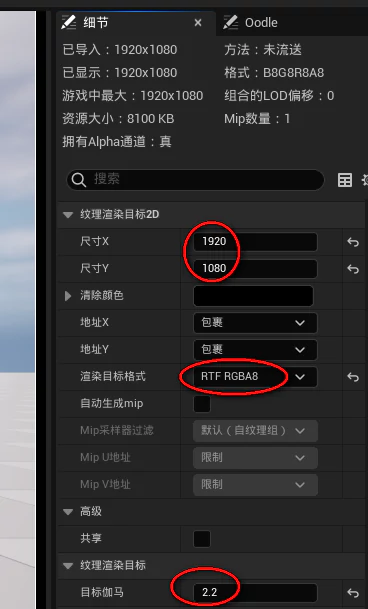
编辑渲染目标,修改属性中的尺寸,如1920*1080;“渲染目标格式”设置为“RTF RGBA8”;“目标伽马”设置为2.2。

通过蓝图保存
调用“导出渲染目标(Export Render Target)”接口即可。

通过C++保存
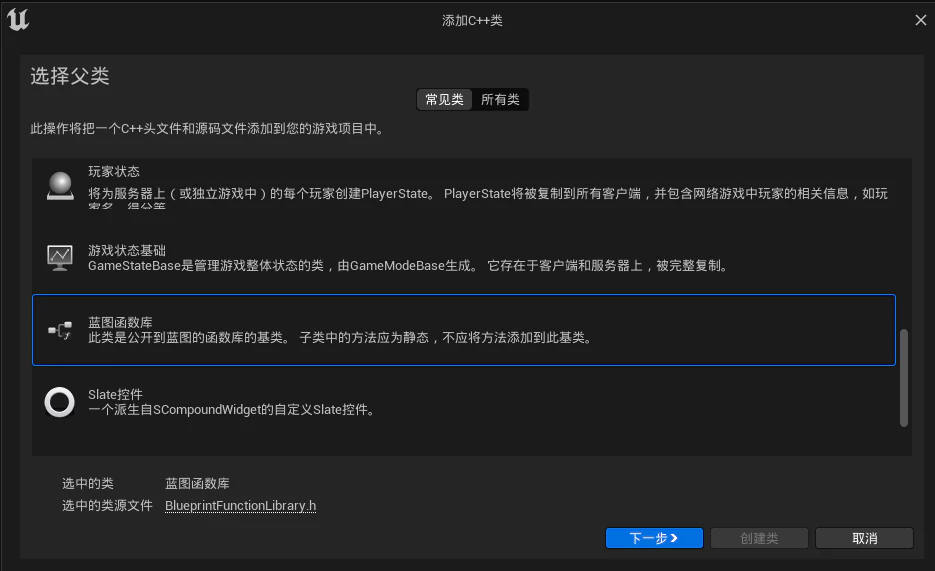
新建C++类来编写存储为图片的代码,父类为“蓝图函数库”。

增加以下代码:
#include "Engine/TextureRenderTarget2D.h"
#include "Misc/FileHelper.h"
#include "ImageUtils.h"

bool UMyBlueprintFunctionLibrary::SaveRenderTargetToFile(UTextureRenderTarget2D* rt, const FString& fileDestination)
{
	FTextureRenderTargetResource* rtResource = rt->GameThread_GetRenderTargetResource();
	FReadSurfaceDataFlags readPixelFlags(RCM_UNorm);

	TArray<FColor> outBMP;

	for (FColor& color : outBMP)
	{
		color.A = 255;
	}
	outBMP.AddUninitialized(rt->GetSurfaceWidth() * rt->GetSurfaceHeight());
	rtResource->ReadPixels(outBMP, readPixelFlags);

	FIntPoint destSize(rt->GetSurfaceWidth(), rt->GetSurfaceHeight());
	TArray<uint8> CompressedBitmap;
	FImageUtils::CompressImageArray(destSize.X, destSize.Y, outBMP, CompressedBitmap);
	bool imageSavedOk = FFileHelper::SaveArrayToFile(CompressedBitmap, *fileDestination);

	return imageSavedOk;
}
最后调用该函数。

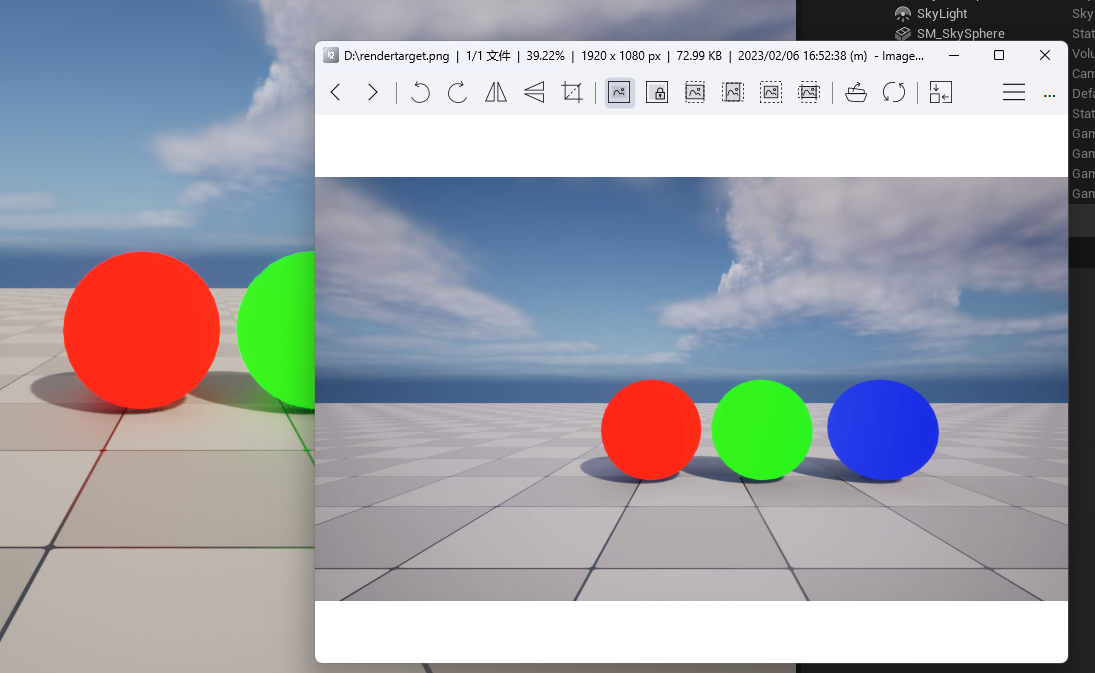
最终效果:地板有些色彩,问题不大……

工程地址:https://github.com/tilongzs/UE_SaveScreen
参考文章:
